Учебное пособие по 3D-контроллеру Worm для Unity
В этом уроке я покажу, как создать простой контроллер-червь в Unity, вдохновленный серией руководств по разработке игр для начинающих TornadoTwins.
Червячный контроллер будет плавно скользить и иметь возможность прыгать.
Сценарии в этом руководстве изначально были написаны на JavaScript (он же UnityScript), который больше не поддерживается, поэтому я предоставлю альтернативу C#.
Для создания контроллера червя в Unity нам понадобится:
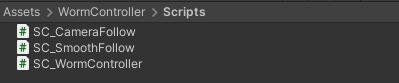
- Создайте необходимые скрипты
- Создать персонажа-червяка
- Назначьте сценарии персонажу
Шаг 1: Создайте все необходимые скрипты
Начнем с создания всех скриптов, которые понадобятся для настройки контроллера червя:
- Создайте новый скрипт, назовите его "SC_WormController" и вставьте в него приведенный ниже код:
SC_WormController.cs
using System.Collections;
using System.Collections.Generic;
using UnityEngine;

[RequireComponent(typeof(CharacterController))]
public class SC_WormController : MonoBehaviour
{
    public float speed = 3.0f;
    public float rotateSpeed = 1.0f;
    public float jumpSpeed = 5.0f;
    public float gravity = 9.8f;

    CharacterController controller;
    Vector3 moveDirection;

    // Start is called before the first frame update
    void Start()
    {
        controller = GetComponent<CharacterController>();
    }

    // Update is called once per frame
    void Update()
    {
        // Rotate around y - axis
        transform.Rotate(0, Input.GetAxis("Horizontal") * rotateSpeed, 0);

        // Move forward / backward
        Vector3 forward = transform.TransformDirection(Vector3.forward);
        float curSpeed = speed * Input.GetAxis("Vertical");
        float movementDirectionY = moveDirection.y;
        moveDirection = forward * curSpeed;

        // Jumping
        if (Input.GetButtonDown("Jump") && controller.isGrounded)
        {
            moveDirection.y = jumpSpeed;
        }
        else
        {
            moveDirection.y = movementDirectionY;
        }

        // Apply gravity. Gravity is multiplied by deltaTime twice (once here, and once below
        // when the moveDirection is multiplied by deltaTime). This is because gravity should be applied
        // as an acceleration (ms^-2)
        if (!controller.isGrounded)
        {
            moveDirection.y -= gravity * Time.deltaTime;
        }

        // Move the controller
        controller.Move(moveDirection * Time.deltaTime);
    }
}- Создайте новый скрипт, назовите его "SC_CameraFollow" и вставьте в него приведенный ниже код:
SC_CameraFollow.cs
using System.Collections;
using System.Collections.Generic;
using UnityEngine;

public class SC_CameraFollow : MonoBehaviour
{
    /*
    This camera smoothers out rotation around the y-axis and height.
    Horizontal Distance to the target is always fixed.

    There are many different ways to smooth the rotation but doing it this way gives you a lot of control over how the camera behaves.

    For every of those smoothed values we calculate the wanted value and the current value.
    Then we smooth it using the Lerp function.
    Then we apply the smoothed values to the transform's position.
    */

    // The target we are following
    public Transform target;
    // The distance in the x-z plane to the target
    public float distance = 10.0f;
    // the height we want the camera to be above the target
    public float height = 5.0f;
    // How much we
    public float heightDamping = 2.0f;
    public float rotationDamping = 3.0f;

    void LateUpdate()
    {
        // Early out if we don't have a target
        if (!target)
            return;

        // Calculate the current rotation angles
        float wantedRotationAngle = target.eulerAngles.y;
        float wantedHeight = target.position.y + height;
        float currentRotationAngle = transform.eulerAngles.y;
        float currentHeight = transform.position.y;

        // Damp the rotation around the y-axis
        currentRotationAngle = Mathf.LerpAngle(currentRotationAngle, wantedRotationAngle, rotationDamping * Time.deltaTime);

        // Damp the height
        currentHeight = Mathf.Lerp(currentHeight, wantedHeight, heightDamping * Time.deltaTime);

        // Convert the angle into a rotation
        Quaternion currentRotation = Quaternion.Euler(0, currentRotationAngle, 0);

        // Set the position of the camera on the x-z plane to:
        // distance meters behind the target
        transform.position = target.position;
        transform.position -= currentRotation * Vector3.forward * distance;

        // Set the height of the camera
        transform.position = new Vector3(transform.position.x, currentHeight, transform.position.z);

        // Always look at the target
        transform.LookAt(target);
    }
}- Создайте новый скрипт, назовите его "SC_SmoothFollow" и вставьте в него приведенный ниже код:
SC_SmoothFollow.cs
using System.Collections;
using System.Collections.Generic;
using UnityEngine;

public class SC_SmoothFollow : MonoBehaviour
{
    // The target we are following
    public Transform target;
    // The distance in the x-z plane to the target
    public float distance = 10.0f;
    // the height we want the camera to be above the target
    public float height = 5.0f;
    // How much we
    public float heightDamping = 2.0f;
    public float rotationDamping = 3.0f;

    // Start is called before the first frame update
    void Start()
    {
        if (!target) return;

        transform.LookAt(target);
    }

    void LateUpdate()
    {
        // Early out if we don't have a target
        if (!target) return;

        // Calculate the current rotation angles
        float wantedRotationAngle = target.eulerAngles.y;
        float wantedHeight = target.position.y + height;

        float currentRotationAngle = transform.eulerAngles.y;
        float currentHeight = transform.position.y;

        // Damp the rotation around the y-axis
        currentRotationAngle = Mathf.LerpAngle(currentRotationAngle, wantedRotationAngle, rotationDamping * Time.deltaTime);

        // Damp the height
        currentHeight = Mathf.Lerp(currentHeight, wantedHeight, heightDamping * Time.deltaTime);

        // Convert the angle into a rotation
        var currentRotation = Quaternion.Euler(0, currentRotationAngle, 0);

        // Set the position of the camera on the x-z plane to:
        // distance meters behind the target
        transform.position = target.position;
        transform.position -= currentRotation * Vector3.forward * distance;

        // Set the height of the camera
        transform.position = new Vector3(transform.position.x, currentHeight, transform.position.z);

        // Always look at the target
        transform.LookAt(target);
    }
}
Шаг 2. Создайте персонажа-червяка
Следующий шаг — создание персонажа-червяка:
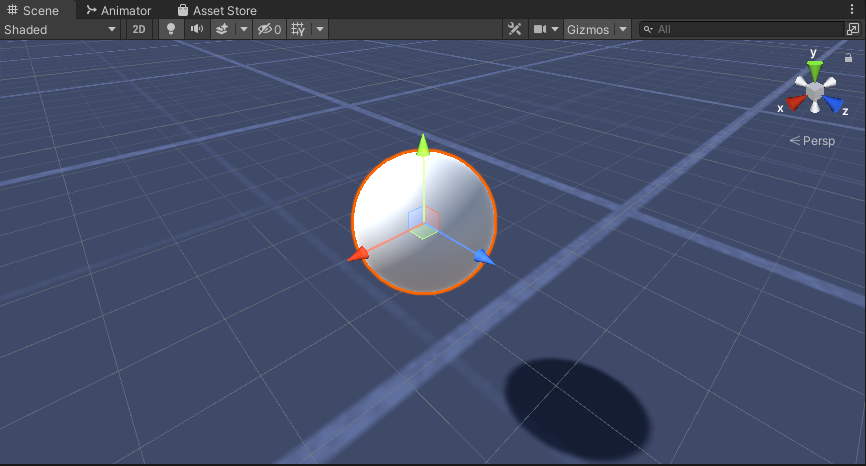
- Создайте новую сферу (GameObject -> 3D Object -> Sphere), измените ее положение на (0, 0, 0), удалите ее компонент SphereCollider и переименуйте его в "Worm"
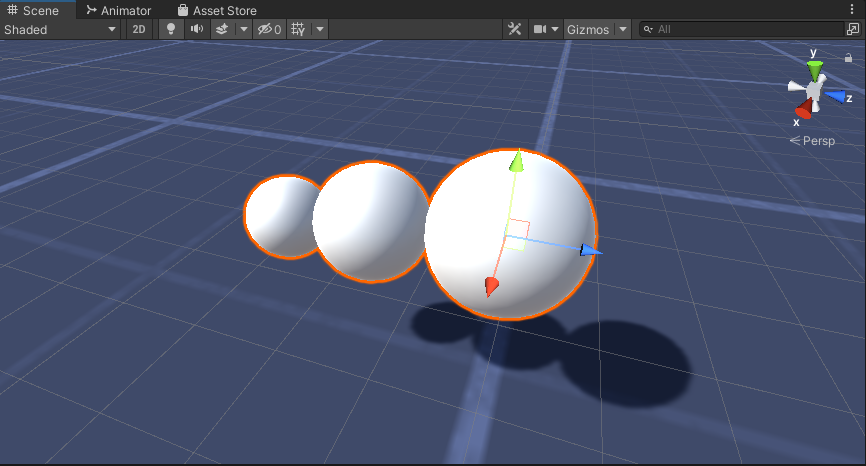
- Дублируйте сферу "Worm", переименуйте ее в "BodyPart1", измените ее положение на (0, -0,1, -0,9) и измените масштаб на (0,8, 0,8, 0,8).
- Снова дублируйте сферу "Worm", переименуйте ее в "BodyPart2", измените ее положение на (0, -0,2, -1,6) и измените масштаб на (0,6, 0,6, 0,6).
- Щелкните правой кнопкой мыши объект "Worm" -> Создать пустой и переименуйте вновь созданный объект в "Eyes"
- Дублируйте сферу "BodyPart2", переименуйте ее в "Eye" и переместите внутрь объекта "Eyes", измените ее положение на (-0,24, 0,353, 0,324) и измените масштаб на (0,4, 0,4, 0,4).
- Дублируйте сферу "Eye" и измените ее положение по оси X на 0,24.
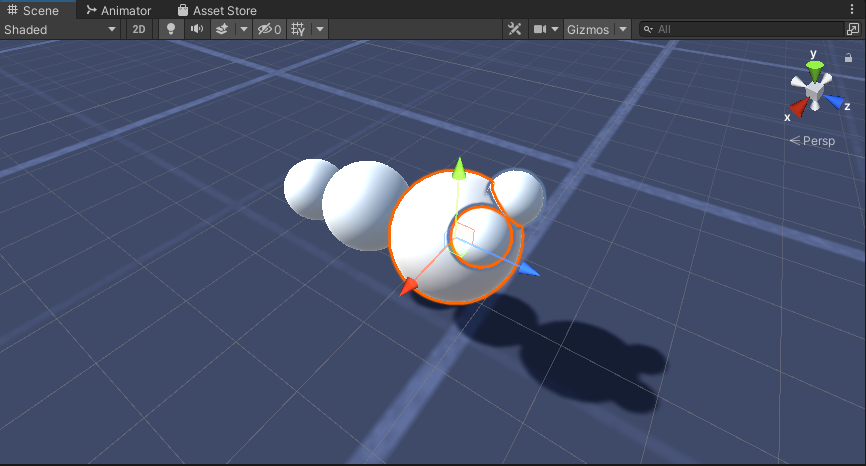
- Для визуализации можно создать несколько материалов, например, зеленый для тела и синий для глаз.
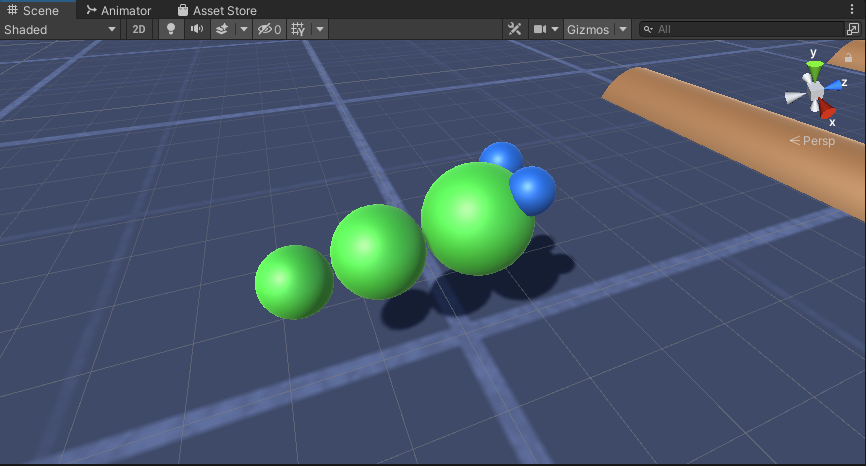
Персонаж-червь готов.
Шаг 3. Настройте червь-контроллер
Последний шаг — назначить скрипты:
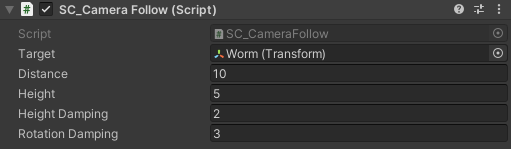
- Прикрепите скрипт SC_CameraFollow к объекту «Основная камера» и назначьте сферу "Worm" целевой переменной:
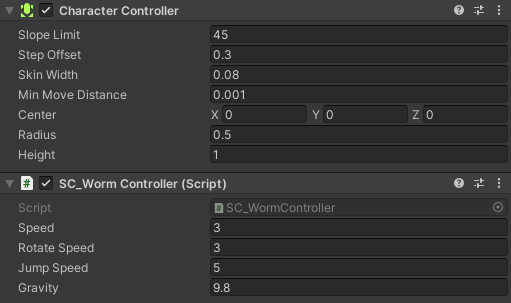
- Прикрепите скрипт SC_WormController к сфере "Worm" (он автоматически добавит еще один компонент под названием CharacterController):
- Прикрепите скрипт SC_SmoothFollow к сфере "BodyPart1" и установите его значения такие же, как на screenshot ниже:

- Прикрепите скрипт SC_SmoothFollow к сфере "BodyPart2" и установите для него значения такие же, как на screenshot ниже:

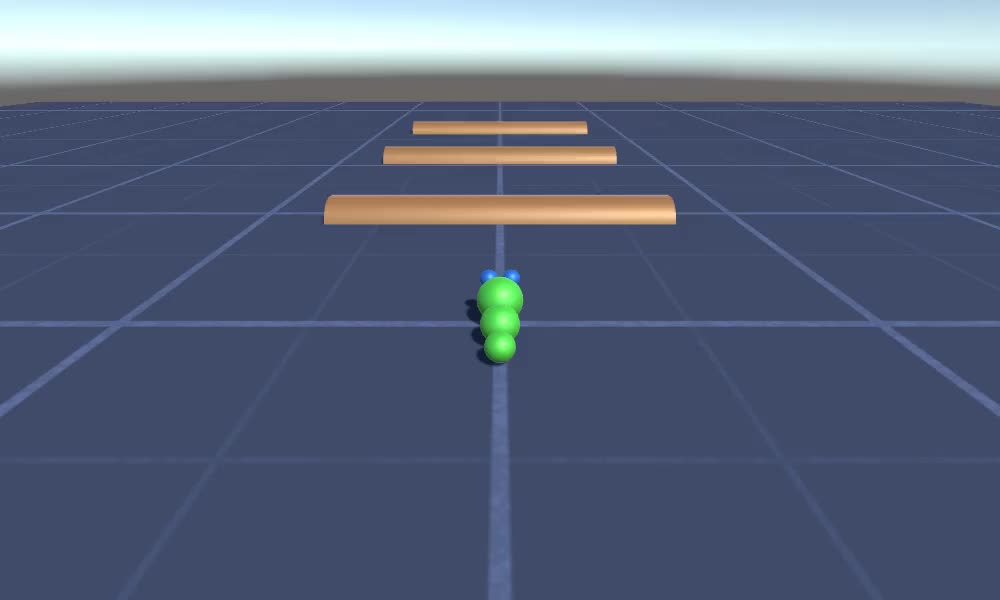
Теперь контроллер готов. Используйте W, A, S и D для перемещения и пробел для прыжков.
Исходный пакет Unity доступен ниже.